If you’ve ever admired the intricate beauty of willow sculptures or dreamed of crafting something extraordinary with your hands, buff willow is the perfect material to start your journey.
Known for its flexibility, strength, and smooth finish, buff willow is a favourite among artists, crafters, and hobbyists.
In this guide, we’ll introduce you to the basics of working with buff willow and help you create your first project with confidence.
What Is Buff Willow?
Buff willow refers to willow rods that have been stripped of their bark, typically through boiling or steaming. This process leaves the willow smooth and easy to handle, making it ideal for crafting everything from small decorations to large-scale sculptures.
- Pliability: Perfect for bending and shaping.
- Strength: Durable enough to hold its form in intricate designs.
Preparing Buff Willow for Crafting
Before you begin crafting with buff willow, it’s essential to prepare the material properly to make it easier to work with and avoid breakage. If you are making a simple structure we find that most willow will not need soaking but if you want to do lots of bending then follow these simple steps:
-
Soaking the Willow
- Soak the willow rods in water to increase their flexibility.
- For thinner rods, a few hours in cold water may suffice. Thicker rods may need soaking for 24-48 hours.
- Test flexibility by gently bending the rod—if it’s pliable, it’s ready to use.
- Soak in a soaking bag
- Or soak in a bath - but be careful as you may get tannin stains,
-
Wrapping to Retain Moisture
- Once soaked, wrap the rods in a damp towel or sheet to prevent them from drying out as you work.
- Work in small batches to keep your materials in optimal condition.
- Beware as keeping willow damp for too long as this can lead to mould developing especially in warmer weather.
Essential Tools for Beginners
To start working with buff willow, you’ll need a few basic tools:
- Secateurs or Pruning Shears: For cutting rods to the desired length.
- Soaking Bag or Bathtub: For soaking the willow.
-
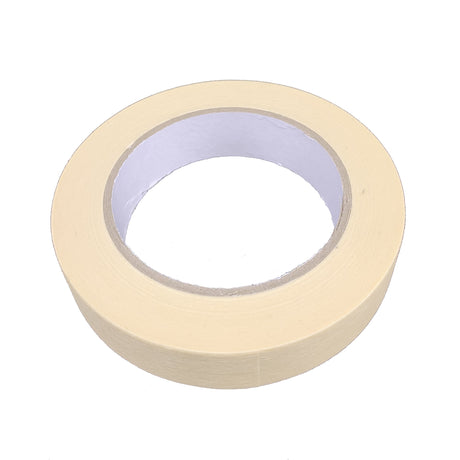
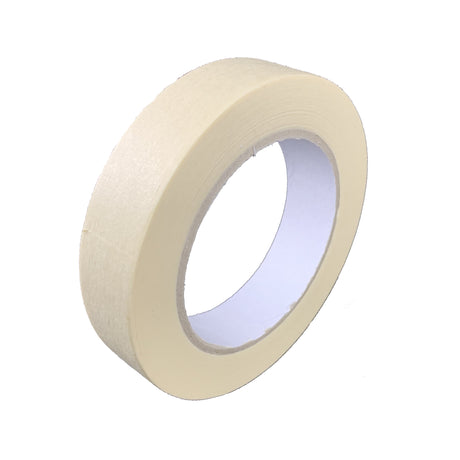
Masking Tape: For holding your willow in place

Starting Your First Project: A Simple Willow Ring
Our simple pyramid wet strength lantern is an easy project to start with. But if you want to step up to actually manipulated the willow then a willow ring is a great beginner project. It’s simple, versatile, and gives you a feel for working with buff willow.
Materials Needed:
- 4-5 buff willow rods (about 3-4 feet long).
- Secateurs.
- A container for soaking.
Instructions:
-
Soak the Willow
Prepare your rods by soaking them as described earlier.
-
Form the Ring Base
Take the thickest rod and gently bend it into a circle, overlapping the ends slightly.
Secure the overlap by twisting the ends around each other or using a thin strip of willow to bind them.
-
 Add Layers
Use the remaining rods to wrap around the base, adding layers for strength and visual interest.
Tuck the ends securely to avoid unraveling.
-
Finish and Display Let the ring dry completely to set its shape. Use your ring as a wreath base, wall decor, or part of a larger project.
Tips for Success
- Practice Makes Perfect: Don’t worry if your first project isn’t flawless—working with willow takes practice, and every piece you make will improve your skills.
- Experiment with Shapes: Once you’re comfortable making rings, try crafting simple shapes like hearts or stars.
- Keep Your Willow Damp: If you’re not finishing a project in one session, re-soak your rods to maintain flexibility.
Why Buff Willow?
Buff willow is not only a joy to work with but also an eco-friendly choice for crafting. It’s a renewable, biodegradable material that connects you to the natural world and traditional craftsmanship. Whether you’re crafting for fun, decorating your home, or creating gifts, buff willow projects are sure to delight you.
Are you ready to start your willow crafting journey? Explore our selection of buff willow and tools to get everything you need for your first project. Share your creations with us on social media—we’d love to see what you make!


